在WinForm开发中,你是否遇到过这样的尴尬场景:点击按钮后界面直接"假死",用户疯狂点击却毫无反应?或者在多线程处理数据时,程序直接抛出"跨线程操作无效"的异常?
这些问题的根源往往在于线程调度和UI更新机制的不当使用。今天我们就来深入剖析WinForm中的两个核心方法:Invoke与BeginInvoke,让你彻底掌握多线程UI更新的精髓,从此告别界面卡顿和跨线程异常!
🔍 问题分析:为什么会出现跨线程操作问题?
在WinForm应用中,所有的UI控件都运行在主线程(UI线程) 上。当我们在其他线程中尝试直接修改UI控件时,.NET Framework会抛出异常,这是为了保证线程安全性。
典型的错误场景:
private void button1_Click(object sender, EventArgs e)
{
    Task.Run(() =>
    {
        // 这里会抛出异常:"跨线程操作无效"
        label1.Text = "更新完成";
    });
}
💡 解决方案:Invoke与BeginInvoke的正确使用
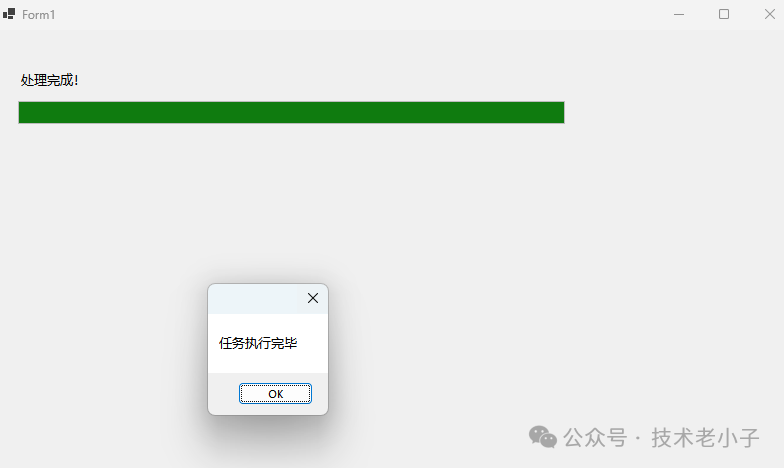
🎯 方案一:使用Invoke进行同步调用
Invoke方法特点:
namespace AppInvokeAndBeginInvoke
{
    publicpartialclassForm1 : Form
    {
        public Form1()
        {
            InitializeComponent();
            SyncUpdateUI();
        }

        private void SyncUpdateUI()
        {
            Task.Run(() =>
            {
                // 模拟耗时操作
                for (int i = 1; i <= 5; i++)
                {
                    Thread.Sleep(1000);

                    // 使用Invoke同步更新UI
                    this.Invoke(new Action(() =>
                    {
                        label1.Text = $"处理进度:{i}/5";
                        progressBar1.Value = i * 20;
                    }));
                }

                // 最终更新
                this.Invoke(new Action(() =>
                {
                    label1.Text = "处理完成!";
                    MessageBox.Show("任务执行完毕");
                }));
            });
        }
    }
}
⚠️ 使用注意点:
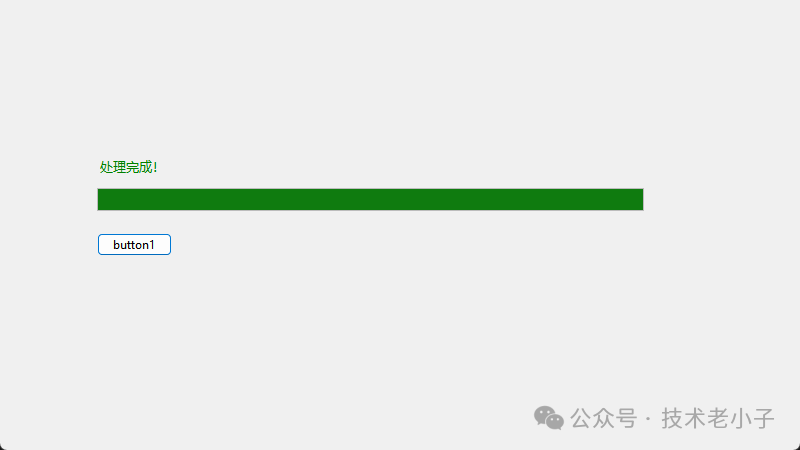
🚀 方案二:使用BeginInvoke进行异步调用
BeginInvoke方法特点:
using System;
using System.Collections.Generic;
using System.ComponentModel;
using System.Data;
using System.Drawing;
using System.Linq;
using System.Reflection.Emit;
using System.Text;
using System.Threading.Tasks;
using System.Windows.Forms;

namespaceAppInvokeAndBeginInvoke
{
    publicpartialclassForm2 : Form
    {
        private CancellationTokenSource cancellationToken;

        public Form2()
        {
            InitializeComponent();
            AsyncUpdateUI();
        }

        private void AsyncUpdateUI()
        {
            cancellationToken = new CancellationTokenSource();
            button1.Enabled = false;
            Task.Run(async () =>
            {
                try
                {
                    for (int i = 1; i < 100; i++)
                    {
                        if (cancellationToken.Token.IsCancellationRequested)
                            break;

                        await Task.Delay(50); // 模拟处理

                        // 使用BeginInvoke异步更新UI
                        this.BeginInvoke(new Action(() =>
                        {
                            progressBar1.Value = i;
                            label1.Text = $"处理进度:{i}%";

                            // 动态改变进度条颜色
                            if (i > 80)
                                label1.ForeColor = Color.Green;
                            elseif (i > 50)
                                label1.ForeColor = Color.Orange;
                        }));
                    }

                    this.BeginInvoke(new Action(() =>
                    {
                        label1.Text = "处理完成!";
                        button1.Enabled = true;
                    }));
                }
                catch (Exception ex)
                {
                    this.BeginInvoke(new Action(() =>
                    {
                        MessageBox.Show($"处理出错:{ex.Message}");
                    }));
                }
            });
        }
    }
}
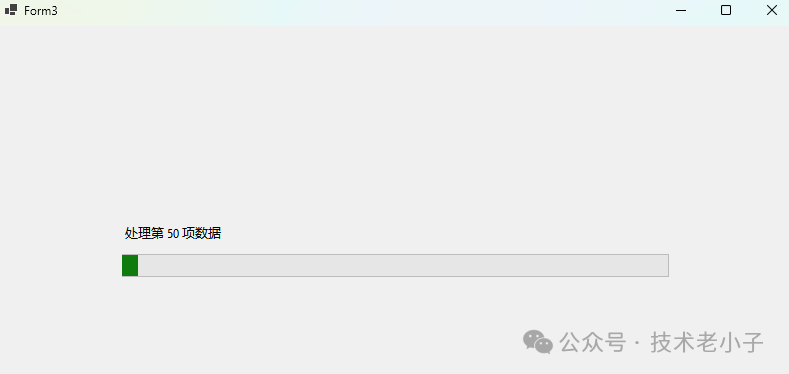
⚡ 方案三:性能优化版本 - 批量更新
对于高频率的UI更新,我们可以采用批量更新策略来提升性能:
using System;
using System.Collections.Generic;
using System.ComponentModel;
using System.Data;
using System.Drawing;
using System.Linq;
using System.Text;
using System.Threading.Tasks;
using System.Windows.Forms;

namespaceAppInvokeAndBeginInvoke
{
    publicpartialclassForm3 : Form
    {
        privatereadonlyobject lockObject = newobject();
        privatevolatilebool isUpdating = false;
        privatestring pendingText = "";
        privateint pendingProgress = 0;
        public Form3()
        {
            InitializeComponent();
            OptimizedUpdateUI();
        }

        private void OptimizedUpdateUI()
        {
            Task.Run(() =>
            {
                for (int i = 1; i <= 1000; i++)
                {
                    // 高频数据处理
                    Thread.Sleep(10);

                    lock (lockObject)
                    {
                        pendingText = $"处理第 {i} 项数据";
                        pendingProgress = (i * 100) / 1000;
                    }

                    // 每50次更新一次UI,避免过于频繁
                    if (i % 50 == 0)
                    {
                        TriggerUIUpdate();
                    }
                }

                // 最终更新
                TriggerUIUpdate();
                this.BeginInvoke(new Action(() =>
                {
                    MessageBox.Show("所有数据处理完成!");
                }));
            });
        }

        private void TriggerUIUpdate()
        {
            if (isUpdating) return;

            isUpdating = true;
            string textToUpdate;
            int progressToUpdate;

            lock (lockObject)
            {
                textToUpdate = pendingText;
                progressToUpdate = pendingProgress;
            }

            this.BeginInvoke(new Action(() =>
            {
                label1.Text = textToUpdate;
                progressBar1.Value = progressToUpdate;
                isUpdating = false;
            }));
        }
    }
}
🛡️ 方案四:安全检查版本 - 防止对象释放异常
using System;
using System.Collections.Generic;
using System.ComponentModel;
using System.Data;
using System.Drawing;
using System.Linq;
using System.Reflection.Emit;
using System.Text;
using System.Threading.Tasks;
using System.Windows.Forms;

namespaceAppInvokeAndBeginInvoke
{
    publicpartialclassForm4 : Form
    {
        public Form4()
        {
            InitializeComponent();
            SafeUpdateUI();
        }

        private void SafeUpdateUI()
        {
            Task.Run(() =>
            {
                for (int i = 1; i <= 10; i++)
                {
                    Thread.Sleep(1000);

                    // 安全的UI更新方法
                    SafeInvoke(() =>
                    {
                        label1.Text = $"安全更新:{i}/10";
                        this.Text = $"主窗口 - 进度{i * 10}%";
                    });
                }
            });
        }

        /// <summary>
        /// 安全的Invoke方法,防止窗体已释放的异常
        /// </summary>
        private void SafeInvoke(Action action)
        {
            try
            {
                if (this.InvokeRequired)
                {
                    if (!this.IsDisposed && this.IsHandleCreated)
                    {
                        this.BeginInvoke(action);
                    }
                }
                else
                {
                    action();
                }
            }
            catch (ObjectDisposedException)
            {
                // 窗体已释放,忽略更新
            }
            catch (InvalidOperationException)
            {
                // 句柄未创建或已销毁,忽略更新
            }
        }
    }
}

📋 核心差异对比表
🔥 最佳实践建议
- 1. 优先使用BeginInvoke:在大多数场景下,BeginInvoke的异步特性能提供更好的用户体验
- 2. 批量更新策略:避免过于频繁的UI更新,采用批量或定时更新
- 3. 异常安全:始终检查控件的InvokeRequired、IsDisposed和IsHandleCreated属性
- 4. 资源管理:及时释放CancellationTokenSource等资源
💬 互动讨论
你在WinForm开发中是否遇到过界面假死或跨线程异常的问题?你是如何解决的?欢迎在评论区分享你的经验和遇到的坑点!
另外,你认为在现代.NET开发中,WPF和WinForm相比,哪个在多线程UI更新方面做得更好?
🎯 总结收获
通过本文的学习,相信你已经掌握了:
- 1. Invoke与BeginInvoke的本质区别:同步阻塞 vs 异步非阻塞的特性差异
- 2. 实战应用技巧:从简单更新到复杂的文件下载进度显示,5个完整可用的代码模板
- 3. 性能优化策略:批量更新、安全检查等高级技巧,让你的应用更加稳定高效
掌握了这些技巧,你的WinForm应用将拥有丝般顺滑的用户体验。记住:好的多线程UI更新不仅仅是技术实现,更是用户体验的艺术!
觉得有用请转发给更多同行,让我们一起提升C#开发技能! 🚀
阅读原文:https://mp.weixin.qq.com/s/_dm0kRlhcfyQiNUPCU34Tw
该文章在 2026/2/28 15:12:48 编辑过


 400 186 1886


