运维篇——Nginx下篇
|
admin 2025年8月17日 0:21
本文热度 1920
2025年8月17日 0:21
本文热度 1920
|
上篇说了一堆 Nginx 的文字描述介绍,今天我们来实战一下,教大家怎么安装 Nginx(编译安装)。
首先必须得有个 Linux 操作系统,博主这里就使用CentOS 7来进行安装。

一、下载 Nginx 源码包
可以访问 Nginx的官网获取想要的版本 ,上传到机器上
https://nginx.org/download/
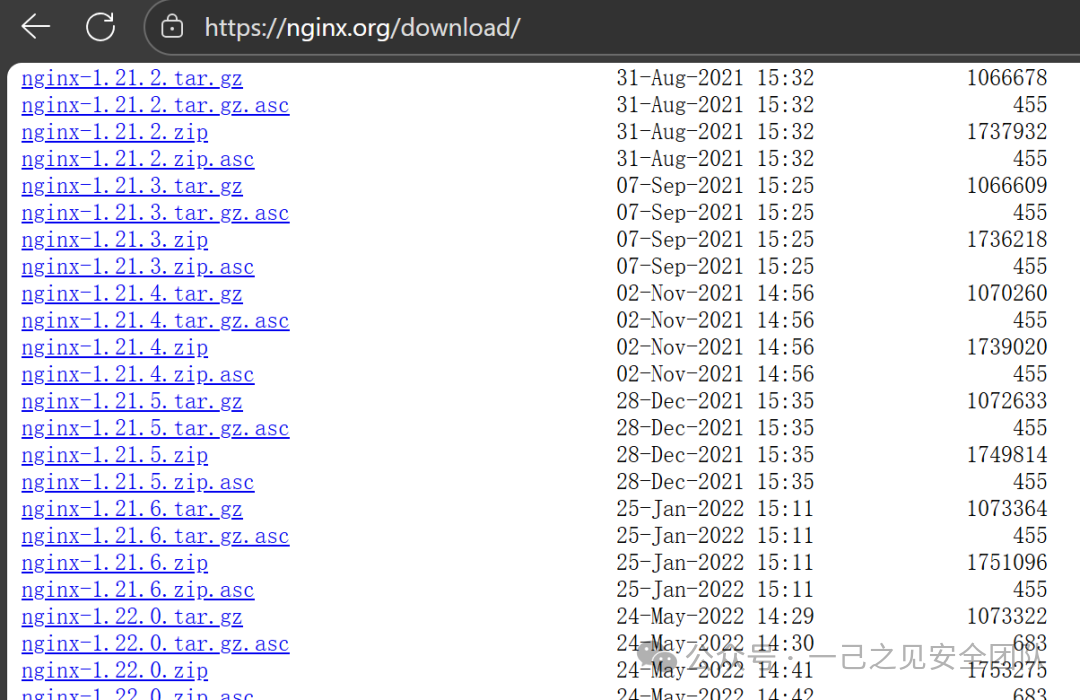
如果机器能够通外网,可以直接通过命令下载,博主这里可以通外网就直接下载了
wget https://nginx.org/download/nginx-1.22.0.tar.gz

二、解压 Nginx 源码包
tar -xvf nginx-1.22.0.tar.gz

#解压成功会有一个nginx-1.22.0的目录

三、安装 Nginx 的依赖包
yum install  gcc  zlib zlib-devel  pcre pcre-devel openssl openssl-devel -y

# pcre-devel:用于支持正则表达式(rewrite 模块需要)
# zlib-devel:gzip 压缩需要
# openssl-devel:SSL 和 TLS 支持

# 可能会提示源不可用,这时我们去阿里镜像站拉一下(能通外网)
wget-O /etc/yum.repos.d/CentOS-Base.repo https://mirrors.aliyun.com/repo/Centos-7.repo
wget-O /etc/yum.repos.d/epel.repo https://mirrors.aliyun.com/repo/epel-7.repo

# 拉完后重新安装依赖即可,若不行执行以下命令后重新安装
yum clean all
yum makecache
四、创建 Nginx用户
# 避免使用 root 运行 Nginx
useradd  nginx -s /sbin/nologin
五、进入目录进行编译安装
# 进入我们解压后的目录
cd nginx-1.22.0
# 执行以下命令
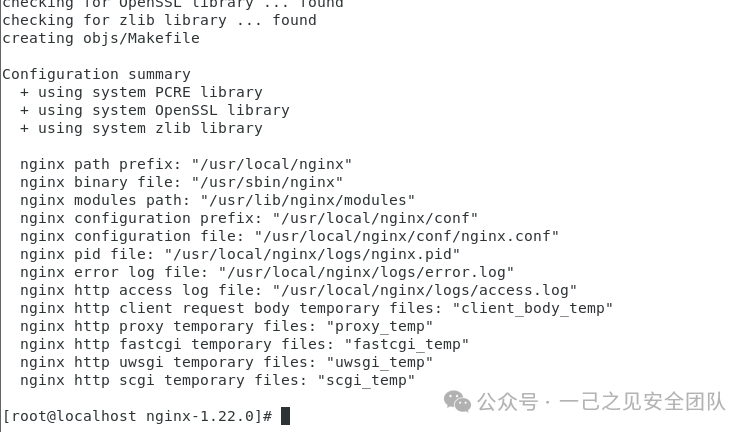
./configure --prefix=/usr/local/nginx \
--with-http_stub_status_module \
--with-http_v2_module \
--with-http_ssl_module \
--with-http_gzip_static_module \
--with-http_realip_module \
--with-http_flv_module \
--with-stream \
--sbin-path=/usr/sbin/nginx \
--modules-path=/usr/lib/nginx/modules \
--conf-path=/usr/local/nginx/conf/nginx.conf \
--user=nginx \
--group=nginx
说明:
参数 | 作用 |
--prefix
| 安装主目录 |
--sbin-path
| Nginx 可执行文件路径(便于全局使用) |
--conf-path
| 配置文件路径 |
--modules-path
| 模块存放路径 |
--user/--group
| 工作进程运行的用户和组 |
--with-http_ssl_module
| 启用 HTTPS(SSL/TLS)支持 |
--with-http_v2_module
| 支持 HTTP/2 |
--with-http_stub_status_module
| 启用状态监控页面(如 /status) |
--with-http_gzip_static_module
| 支持预压缩文件(.gz) |
--with-http_realip_module
| 从请求头(如 X-Real-IP)获取真实客户端 IP |
--with-http_flv_module
| 支持 FLV 视频流(按需) |
--with-stream
| 启用 TCP/UDP 代理模块(用于四层负载均衡) |
最后显示如下图为成功
# 再执行命令安装
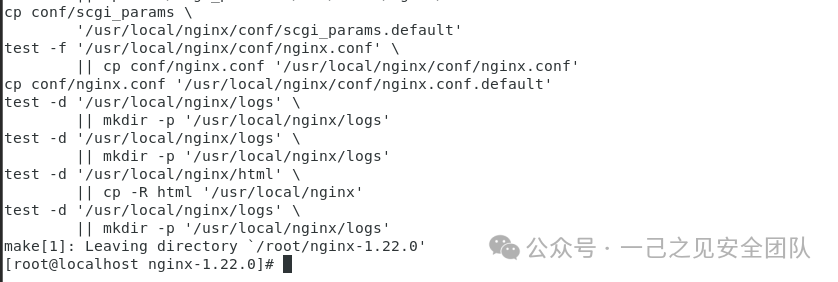
make && make install
最后显示如下图为成功
六、启动 Nginx 验证
# 启动
nginx

# 关闭
nginx -sstop

# 查看版本
nginx -v

# 查看 nginx 服务端口
netstat -anplut | grep nginx

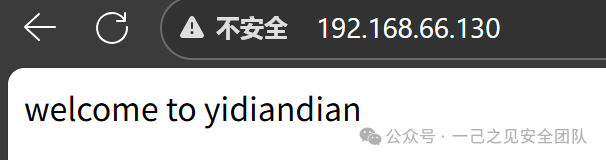
去浏览器输入操作系统ip+端口号(默认80)验证
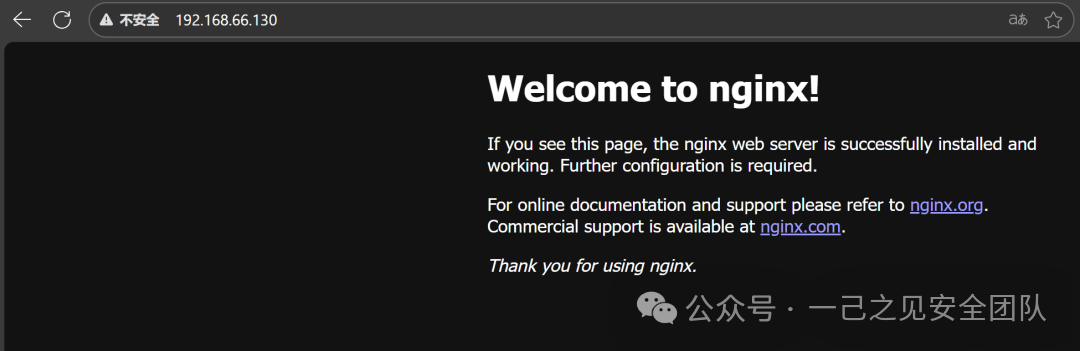
至此安装完成。
扩展:可以针对 nginx 的 html 文件进行一些静态网页的操作,达到自己想要的效果
阅读原文:原文链接
该文章在 2025/8/18 11:00:04 编辑过


 400 186 1886

